Marmoset Renders with Substance Painter Texture & Fur Generator
Substance Painter Fur Generator Setup
The first step is to go download the fur generator from this link
https://80.lv/articles/fur-generator-for-substance-painter/ . Once downloaded open the demo Substance Painter file provided in the folder. The way the Fur Generator works is by referencing three different anchor points for color, flow, and masking. The best way to transfer this setup into your file is put the generator and its anchor points under a folder. Then right click on that folder and create a Smart Material.
Now open up your own project and add the smart material to your model. Before you start setting up the Fur Generator you need to import two more files from the downloaded folder. You need to grab the Flow_Painter brush and the Normal_UP texture. This will be very important later in the setup.
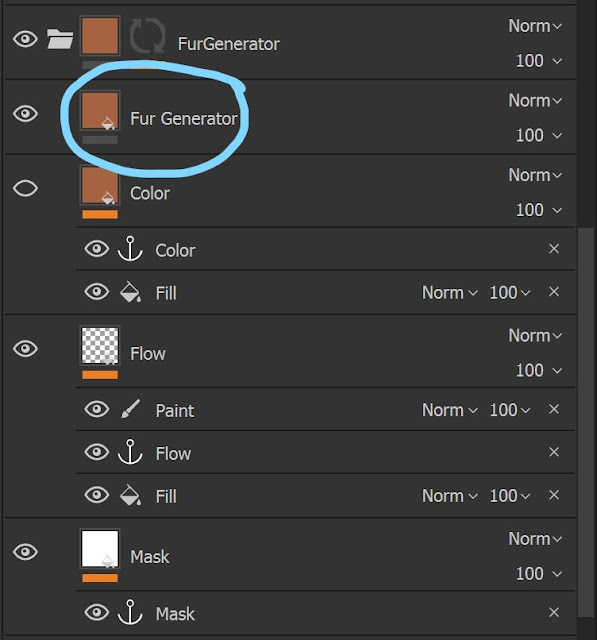
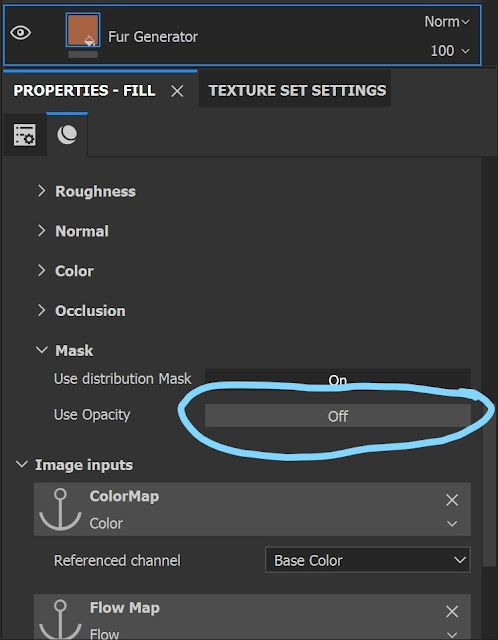
Now open up the smart material folder that should have been added to the scene. Under the folder click on the main layer, the parameters that effect the fur are here. You can edit the properties as you like here, the only thing I recommended is turning off the opacity under the mask channel. Instead of using the mask system that comes with the generator I instead recommend adding a black or white mask to the smart material folder in order to mask the fur as you like.
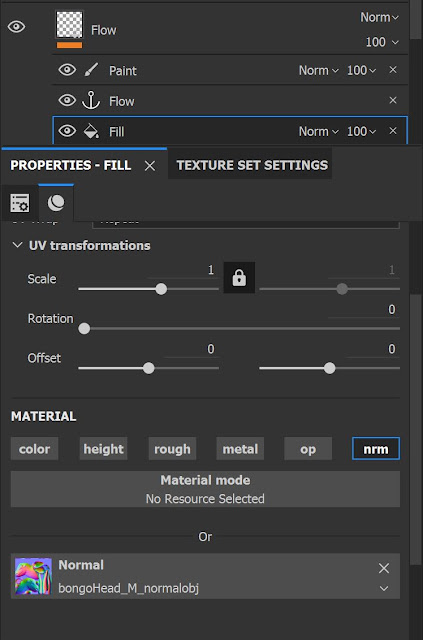
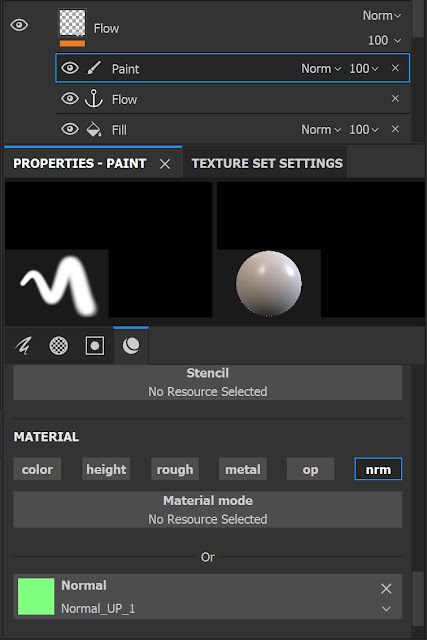
Now moving on to the different anchor points for the Fur Generator. The color anchor is pretty straight forward as it allows you to change the base color of the fur. For my setup I just changed it to a solid reddish brown color. The flow anchor allows you to change the direction of the fur and requires more setup. You should see a paint and fill channels under the flow anchor and this where the other two downloaded files will be used. For the fill section you can either add the Normal_Up texture or your own Normalobj to the Normal Channel. This will setup the general flow of your fur. Next on the paint channel the normal channel needs to be changed to Normal_Up and when you paint on the model use the downloaded brush. Make sure the brush is set to directional and make sure that paint channel is above the fill channel. Lastly the Mask anchor is optional as stated above, but it allows you to mask out certain parts of the material. However, I found that it was clunky and slow to load.
Finally once you have everything setup feel free to tweak the Fur Generator to your liking. Also Keep in mind that if you want more then one kind of fur you can have more then one Fur Generator smart martial in your scene.
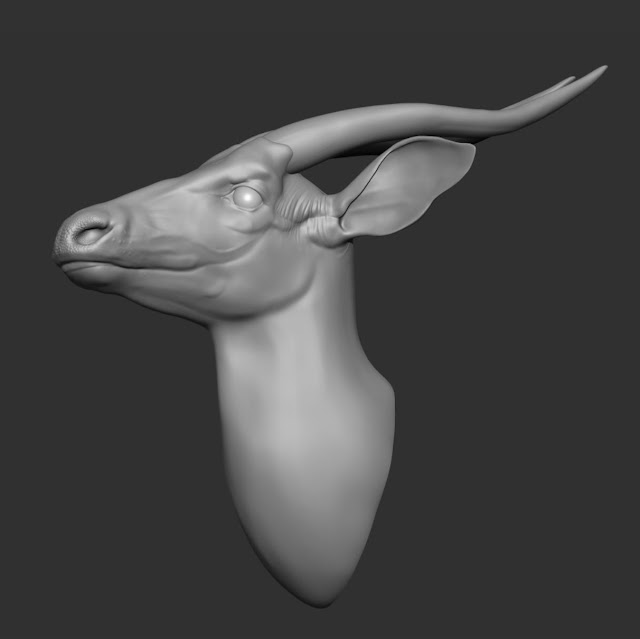
Zbrush Sculpt Updated